Home Improvement · DIY Guides
How to Install a Wood Fence: A Complete DIY Guide
A wood fence is one of the more approachable DIY builds for a confident weekend project — the steps are straightforward, but small mistakes in post depth or spacing compound over a long fence line. Here's the full process from planning to finish, plus the mistakes that trip up most first-time installers.
Before you start: tools and materials
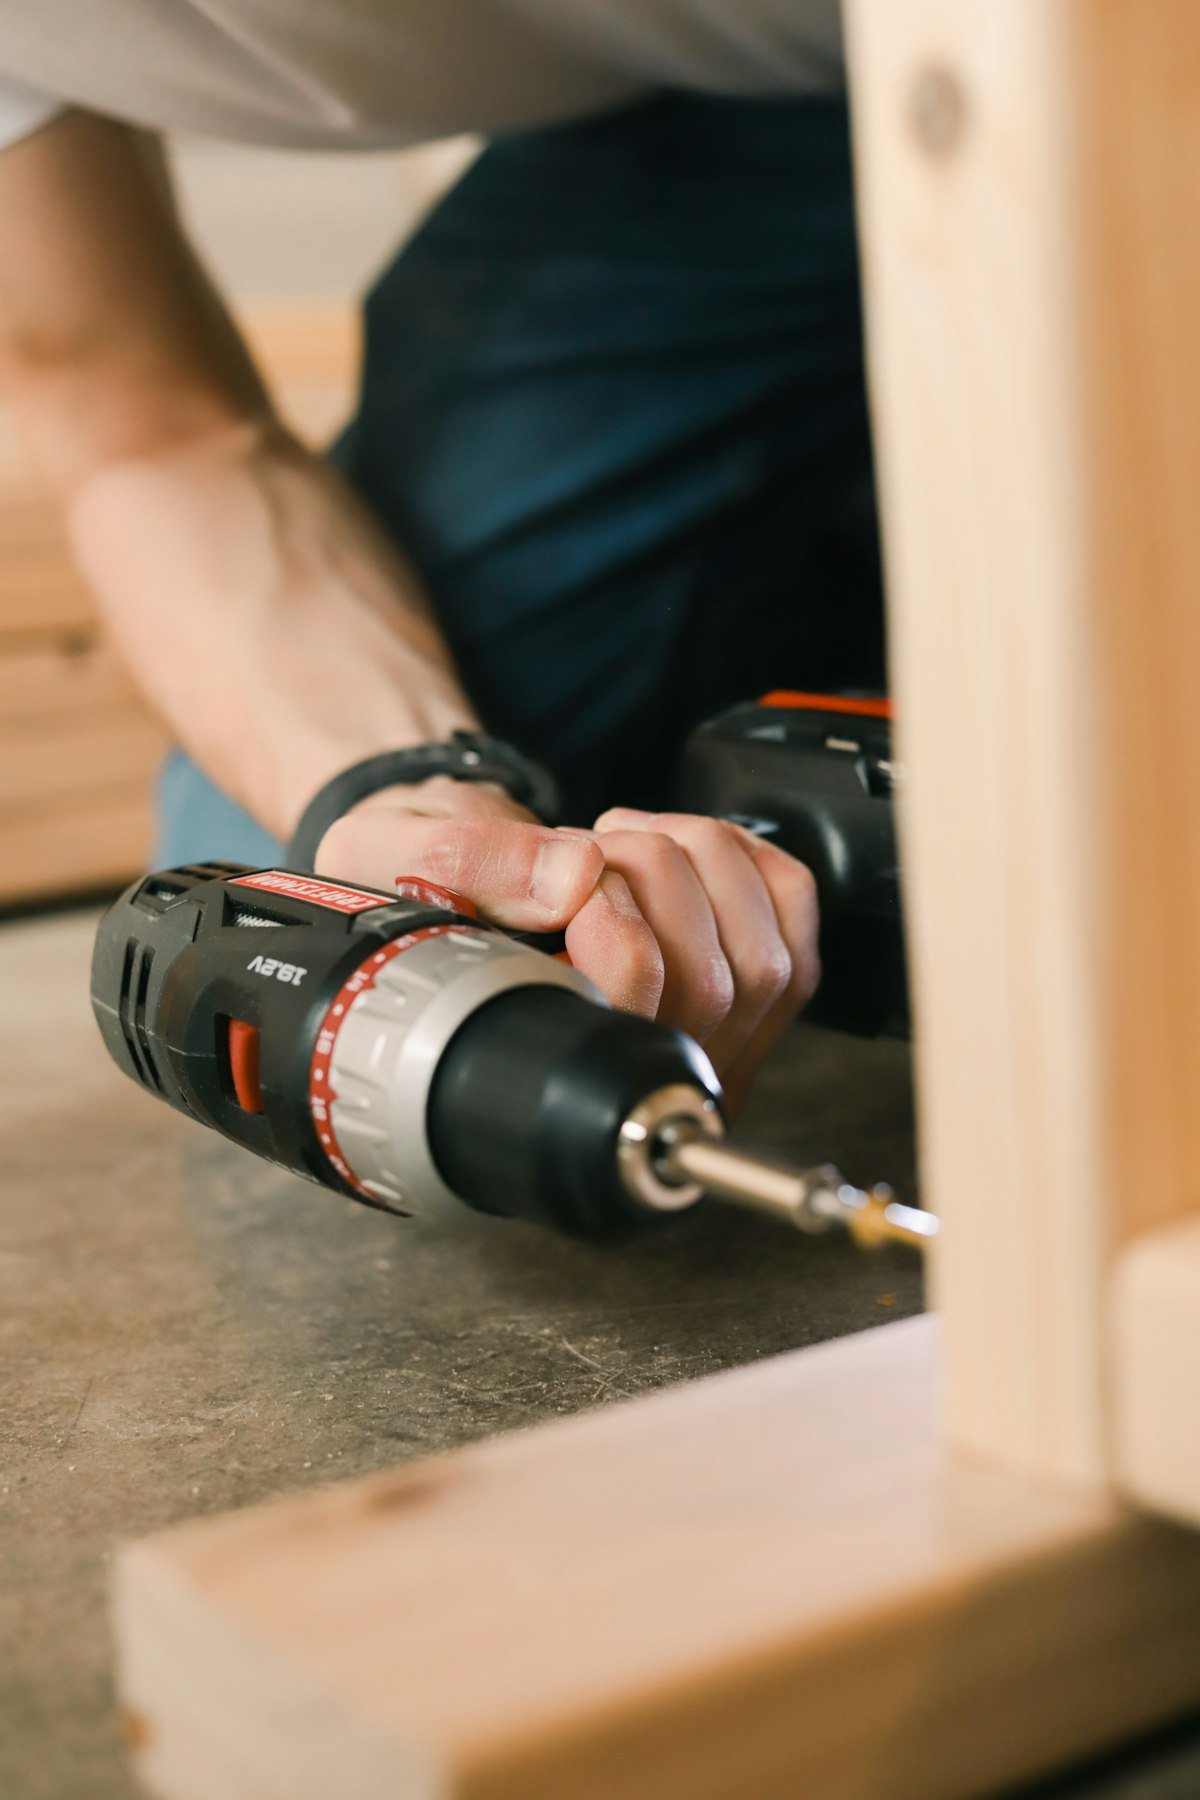
Tools: post hole digger or gas auger, tape measure, string line and stakes, a 4-foot level, circular saw, cordless drill/driver, and a hammer.
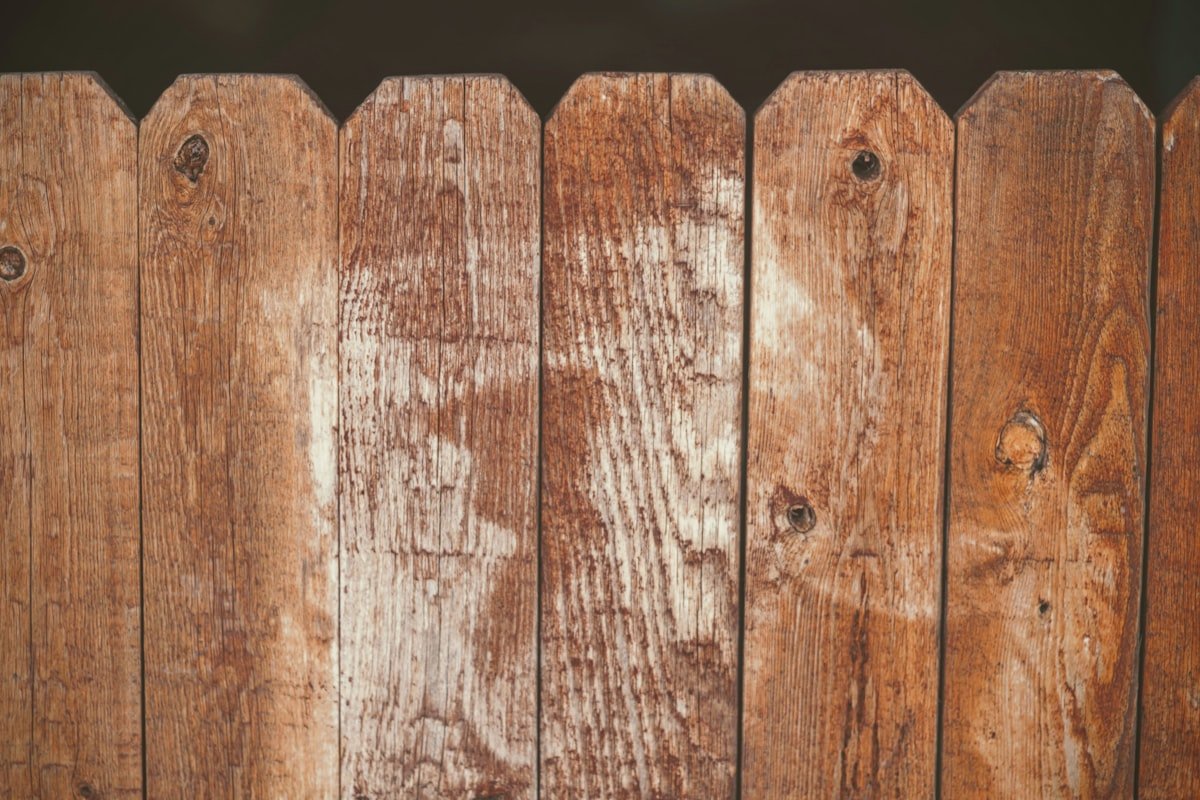
Materials: pressure-treated posts, horizontal rails, fence boards/pickets, quick-set concrete, galvanized or stainless deck screws (or nails), and post caps.
Plan your layout
Mark your fence line with stakes and a string line, confirming it sits on your side of the property boundary — a survey or plat map helps avoid a costly dispute later. Check local code and HOA rules for height limits and setback requirements before finalizing your line. Standard post spacing is 8 feet on center for most wood fence styles.
Set your posts
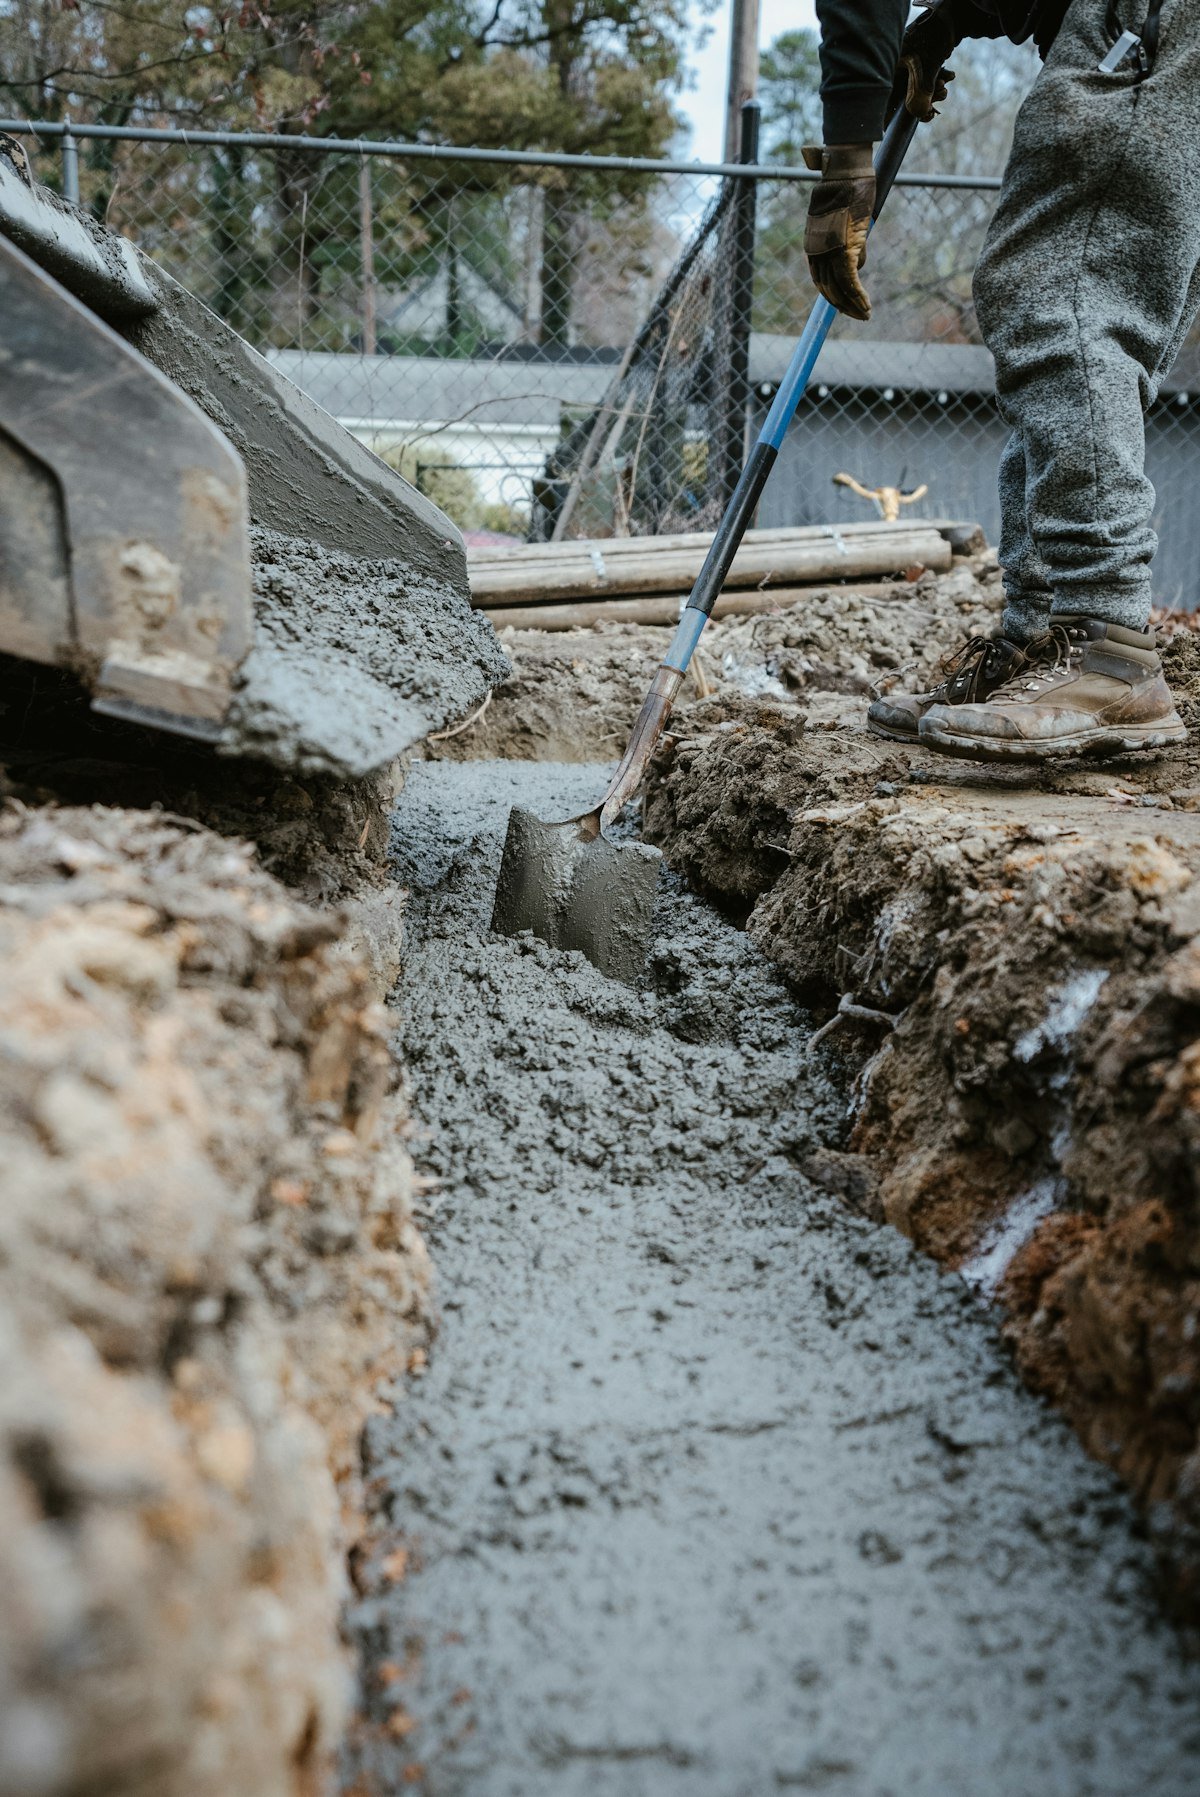
Dig each hole about one-third of your total post length deep — for an 8-foot post supporting a 6-foot fence, that's roughly 2.5-3 feet, adjusted deeper if your area has a frost line requirement. Add a few inches of gravel at the bottom for drainage, set the post, pour quick-set concrete around it, and check plumb with a level on two adjacent sides before the concrete sets. Let posts cure for 24-48 hours before attaching anything to them.
Attach the rails
Once posts are cured, attach horizontal rails between them — two rails for shorter fences, three for a 6-foot privacy fence, positioned near the top, middle, and bottom of each section. Rails can be toe-screwed directly into posts or supported with metal brackets, which make for a stronger, more consistent connection over time.
Attach the pickets
Fasten boards to the rails one at a time, using a scrap piece of wood as a spacer to keep gaps consistent along the whole run. Deck screws generally hold better than nails over years of seasonal wood movement, though they take a bit longer to drive by hand without an impact driver. Check every few boards with a level to catch any drift before it becomes visible from a distance.
Finish the fence
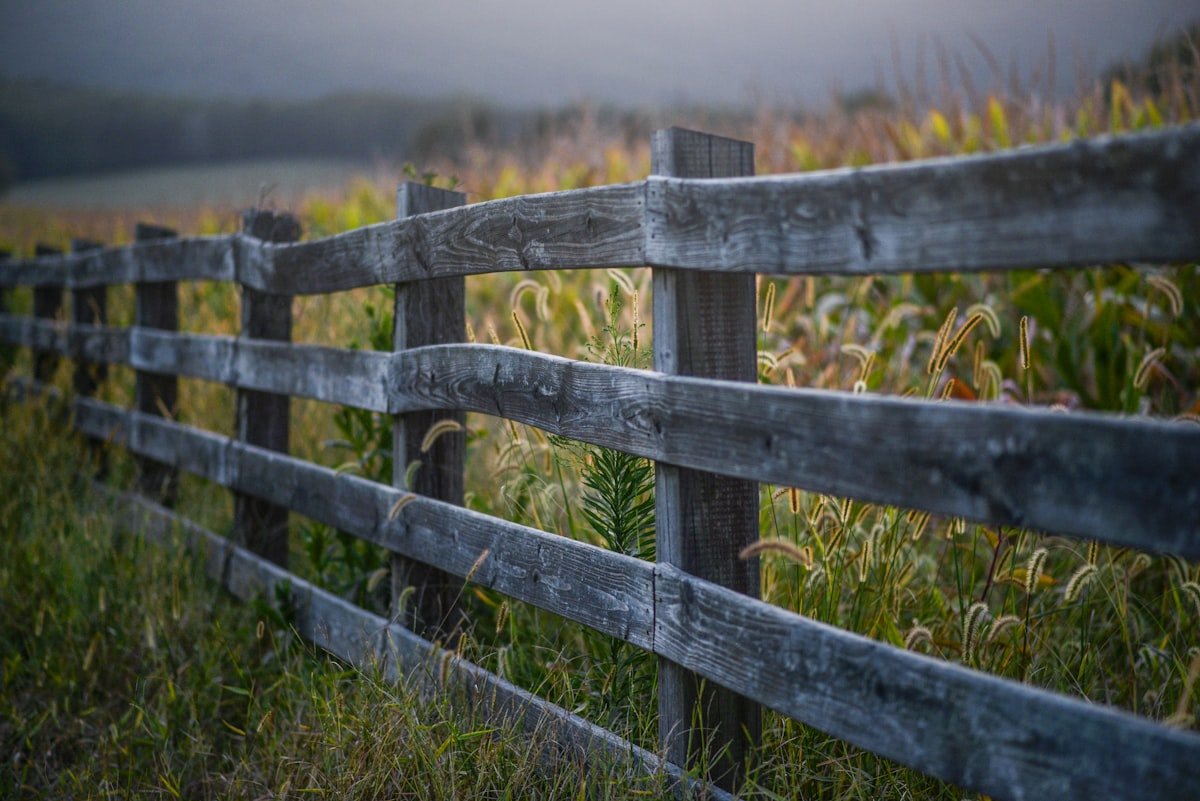
Trim post tops to a consistent height if needed, and add post caps to protect end grain from water — the top of a post is where rot typically starts first. If you're using pressure-treated lumber, let it dry for several weeks to a few months before staining or sealing, since wet-treated wood won't absorb stain evenly.
Common DIY mistakes to avoid
- Skipping the utility locate call. It's free and takes a few days to schedule — not worth the risk of skipping it.
- Setting posts too shallow. A post that's too shallow will lean or heave over a few seasons, especially in areas with freeze-thaw cycles.
- Inconsistent picket spacing. Small gaps that drift over a long run become very visible from a distance — use a spacer block for every board.
- Not letting concrete cure before loading the posts. Attaching rails too soon can shift posts out of plumb before the concrete has set.
- Guessing at your budget before buying materials. Run your numbers through a cost calculator before you're standing in the lumber aisle.
How long does it take?
For a solo or two-person DIY crew, a 100-150 foot wood fence typically takes one weekend for layout and post-setting, a curing period of a day or two, and a second weekend for rails, pickets, and finishing — longer for uneven terrain, more gates, or first-time installers still building confidence with the tools.
Budget your materials before you buy
Enter your fence length, height, and gate count to estimate materials cost and how many posts and concrete bags you'll need.
Open the free calculator →Frequently asked questions
Do I need a permit to install a wood fence myself?
Often yes, especially for fences over a certain height or near a property line — permit requirements are set locally and apply whether you hire a contractor or DIY. Check with your city or county building department before starting.
How deep should wood fence posts be set?
A common rule of thumb is to set posts about one-third of their total length below ground — for a 6-foot fence with 8-foot posts, that's roughly 2.5-3 feet deep, adjusted for frost line depth in colder climates.
Should I use nails or screws for a wood fence?
Deck screws generally hold better over time than nails, resisting the wood movement and loosening that comes with seasonal expansion and contraction, though they take longer to install by hand and are often driven with a drill or impact driver instead.